An estimated 8% to 31.4% of adults experience bruxism and according to experts, the dangers of grinding your teeth go beyond wear, they can lead to jaw pain, headaches, and long-term damage if not addressed. While night guards are a practical way to protect your teeth, they’re only effective when kept clean. That’s why maintaining your guard’s hygiene matters. Without regular cleaning, it can harbor bacteria, develop odors, or wear out faster than expected.
The best part? Cleaning a night guard doesn’t have to be tricky. With simple, dentist-approved steps, you can keep yours fresh, hygienic, and in great shape.
At Elizabeth L. Wakim DDS, helping you care for your smile at home is just as important as what happens in our clinic. If you’ve noticed the signs you’re grinding your teeth at night, protecting your smile starts with consistent home habits. Let’s get into the essential steps that will make your night guard and your smile last longer.
Quick Daily Cleaning Routine
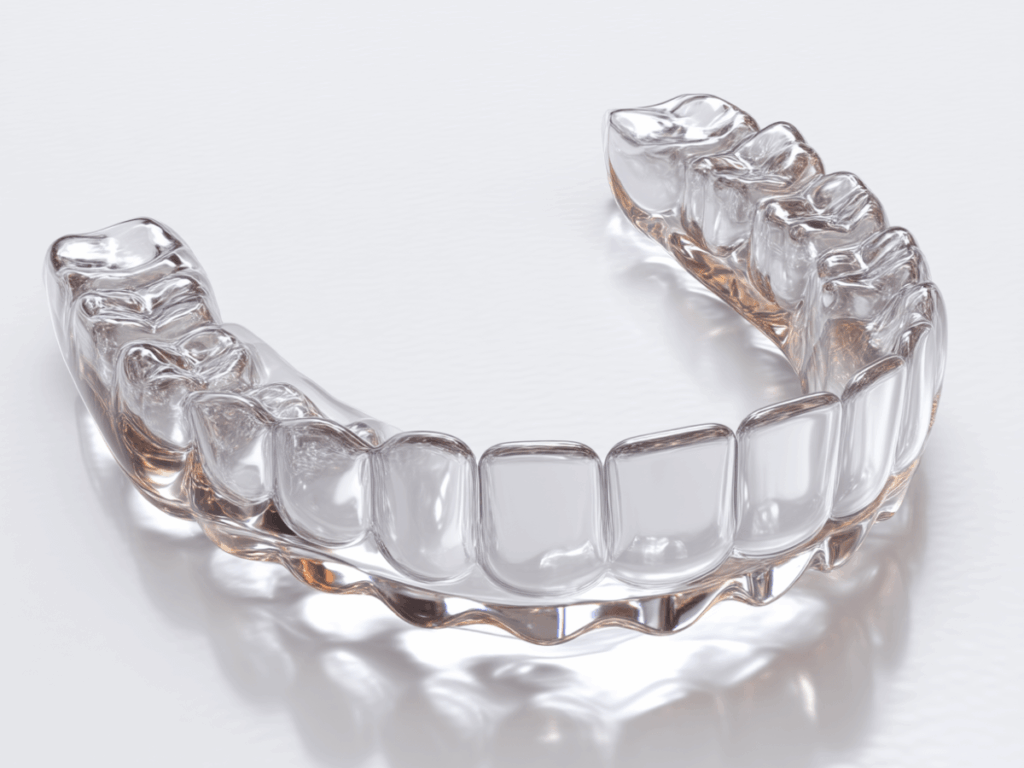
Night guards, also known as occlusal splints, are a common treatment for bruxism but to keep them working effectively, they need proper care. Cleaning your night guard each morning only takes a minute, but it can prevent buildup, bacteria, and bad breath.
1. Rinse immediately after removing
Start by rinsing your night guard under cool or lukewarm water to remove saliva and debris. Avoid hot water it can warp the material.
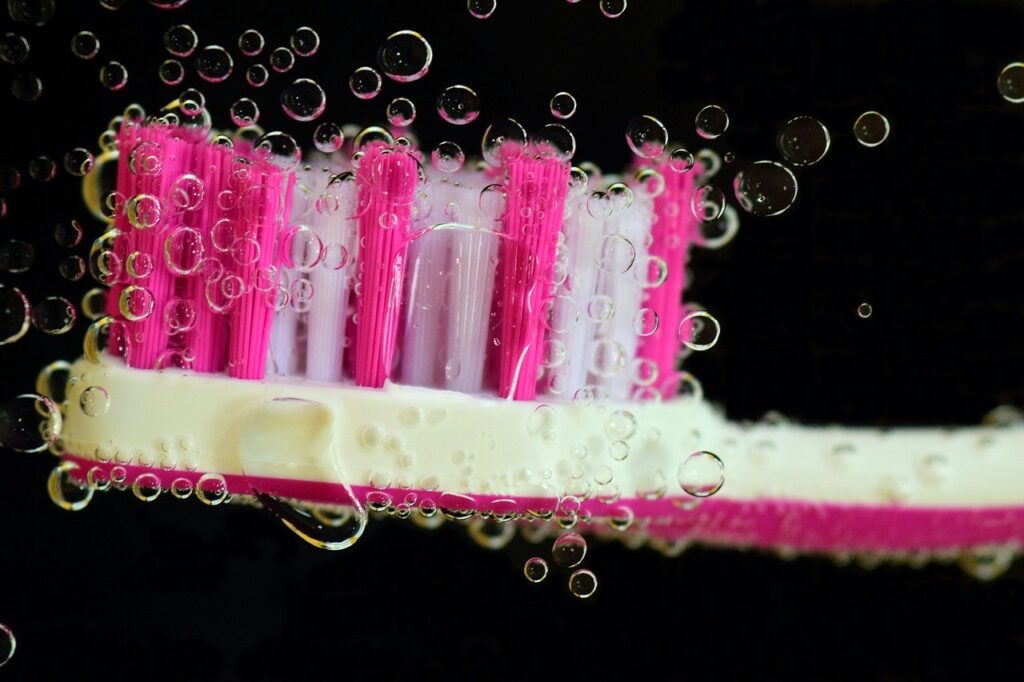
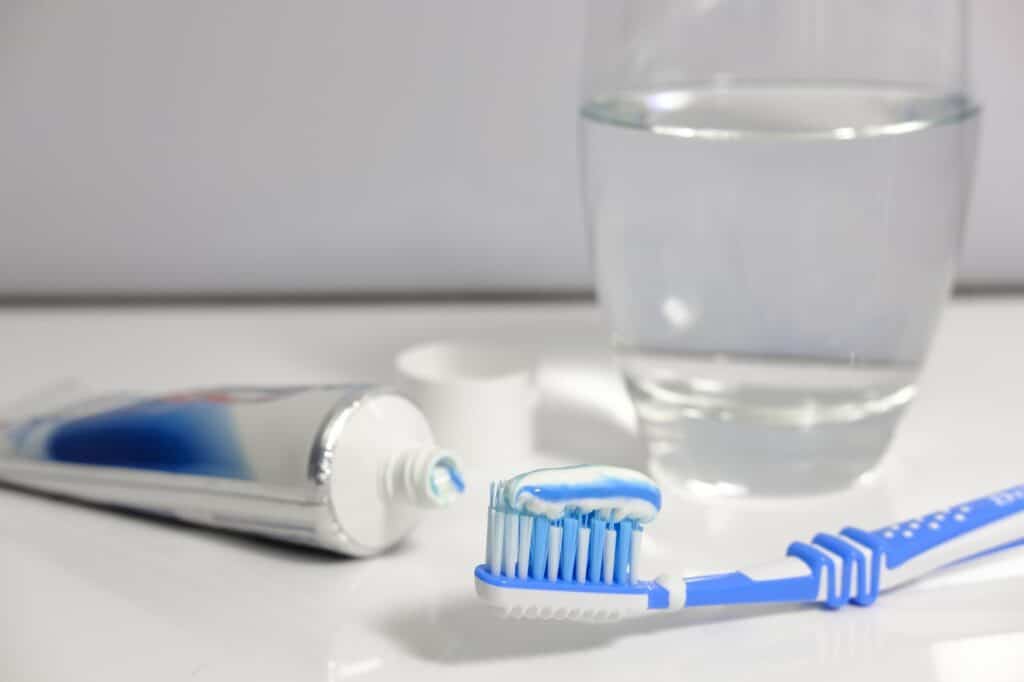
2. Brush gently (but not with toothpaste)
Use a soft toothbrush (not your everyday one) and gently brush the guard with mild, fragrance-free soap or dish detergent. Toothpaste is too abrasive and can scratch the surface, making it easier for bacteria to hide.
3. Let it air dry completely
After cleaning, place your night guard on a clean, dry surface and let it air dry fully before storing it. Moist environments encourage bacterial growth.
4. Store it properly
Once dry, keep your night guard in a ventilated case not sealed shut. This protects it from dust while allowing airflow to reduce moisture buildup.
A consistent daily routine keeps your night guard fresh and extends its life, no extra tools or fancy cleaners required.
When & How to Replace Your Night Guard

Night guards aren’t meant to last forever especially if you wear them every night. Over time, daily wear and tear can cause the material to thin, crack, or lose its snug fit. A worn-out night guard not only becomes less effective, but it can also harbor bacteria in hard-to-clean crevices.
Signs It’s Time for a Replacement
You don’t need to guess, watch for these signs:
- Cracks, thinning spots, or visible wear in the plastic
- A loose fit or changes in how it sits on your teeth
- A bad smell that sticks around even after using cleaning tablets or soaking in hydrogen peroxide
- Cloudiness, yellow stains, or calcium deposits
- Discomfort or bite changes that weren’t there before
These signs mean your mouthguard may not be offering full protection anymore.
How Often Should You Replace It?
Most night guards need replacing every 6 months to 2 years, depending on:
- The severity of grinding or clenching
- The material type (soft vs. hard)
- How well you clean, store, and treat it
Talk to your dentist during routine treatment visits, they’ll file away any concerns and let you know when it’s time for a new one.
Replacement Tips That Make a Difference
- While waiting for a replacement, avoid storing your current guard in direct sunlight or sealed containers. Let it air dry in a clean, dry cup or glass.
- Ask about options through insurance or HSA/FSA to help with cost.
- Don’t wait for a tiny crack to grow, once the appliance is compromised, it’s no longer protecting your teeth.
Keeping your dental appliances in top shape protects your smile and helps prevent issues like tension headaches or jaw discomfort. It’s not just about replacing a worn-out guard it’s about continuing effective care with the right tools. To support your routine, consider these must-have products for teeth grinders that make daily maintenance easier and more effective
Night Guard Care Don’ts: Mistakes to Avoid for a Longer-Lasting Fit
Taking care of your night guard isn’t just about what to do, it’s also about knowing what not to do. Here are the most common cleaning mistakes that can lead to premature wear, bacteria build up, or even warping:
- Don’t Use Hot Water or Heat Sources: It might seem like a quick way to sanitize, but exposing your mouth guard to heat like boiling water, dishwashers, or even a hot car can cause distortion. Always rinse with cool water or warm water, never hot.
- Don’t Use Abrasive Toothpaste or Hard Brushes: Skip gritty pastes and hard brushes that can scratch the surface. Instead, gently scrub with a soft bristle toothbrush and mild liquid soap. This helps preserve your guard while keeping plaque and bacteria in check.
- Don’t Soak Too Long in Vinegar or Mouthwash: While white vinegar and mouthwash can help freshen and rid your guard of odors, extended soaking especially with anything containing alcohol can break down materials over time. Limit soaks to 10–15 minutes max.
- Don’t Skip Drying: Moisture is the enemy of clean dental appliances. Always let your night guard air out until it’s completely dry before storage to avoid odor, bacteria, or fungal growth.
- Don’t Store in Airtight Containers: Sealing your guard in a closed plastic container traps moisture and encourages microbial growth. Instead, fill a ventilated retainer case with a dry paper towel or keep it in a clean cup that allows airflow.
- Don’t Delay Deep Cleaning: If you’re only rinsing your guard daily, it’s not enough. Give it a deep clean at least once a week using baking soda, one tablet of denture cleaner, or an ultrasonic cleaner to keep plaque and film from building up.
If your guard no longer fits properly or shows signs of wear, don’t wait. Reach out to your dentist for answers and avoid continuing contact that could damage your teeth or jaw alignment.
A Cleaner Guard Means a Healthier Smile
Your night guard is more than a piece of plastic, it’s a vital part of protecting your smile, improving sleep, and preventing long-term dental issues. A consistent cleaning routine can make a big difference.
And if you ever have questions about your cleaning routine, care products, or fit, your dental team is always the best place to turn for trusted answers.
Our team is here to support your oral health with gentle, personalized care. Whether you’re dealing with jaw pain, clenching, or just want to make sure your dental appliance is doing its job, we’re ready to help. Contact our Pennsylvania office at (724) 558-8222 or use our contact form to schedule a visit and get expert guidance tailored to your needs.

Dr. Elizabeth Wakim, DDS, is the founder of Enhanced Wellness. She’s a compassionate and highly-regarded dentist with her own practice in Washington, Pennsylvania, known for providing modern, comprehensive dental care, botox and facial aesthetics with a focus on patient comfort and anxiety reduction, serving general, cosmetic, and pediatric dentistry needs.